Identification Of Parts Shipped:
Figure 1: ECU, Master Valve, metal crush gasket, (2) New 4mm allen bolts.
Figure 2: ECU + Master Valve Back (Valve Port)
Figure 3: Close up of the valve ports
Installation Tools:
1/4" drive 4mm allen socket
1" 1/4 drive extension
1/4' socket driver
Start:
1. Put the car in the air by use of a lift or use ramps and jack stands
to support the rear (make sure the vehicle ignition is off , brakes on,
and the wheels are chalked). Use a light if necessary to help you see
under the vehicle. (Figure
#4)
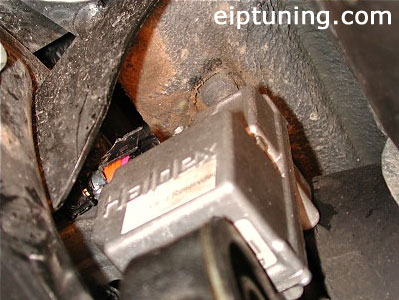
2. The ECU & valve unit mounts to the passenger side of the Haldex unit. ECU & valve unit location on the car (Figure #5).
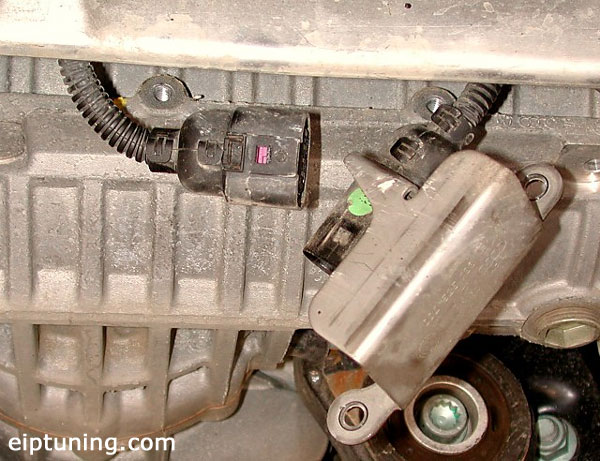
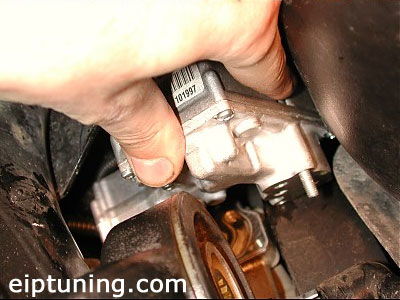
3. Push the ECU plug in to relieve any tension on the clip. Gently pry the clip where shown, and pull the plug out. (Figure #6).
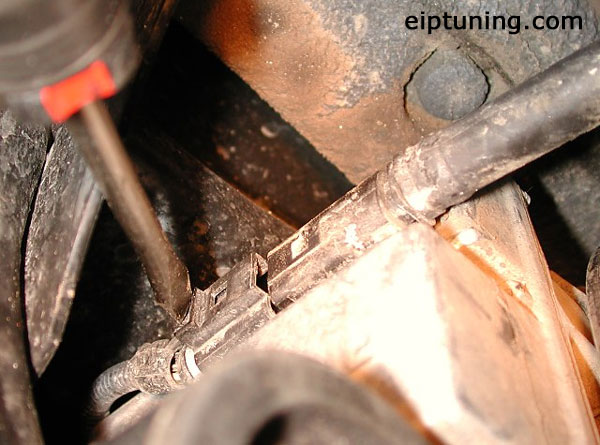
4. Around at the back of the differential is another plug. (Figure #7) The best way to release the plug os to unbolt the bracket from the diff, unhook the plug, and unclip the rubber plug end from the bracket. Unclip the plug wire from the back of the diff, and from the frame-member above the diff.
5. Use 4mm allen socket and extension as necessary to remove the 2 original
allen bolts.
It will dribble a very small bit of oil out, so you may want to put down
something on the ground to catch it (Wear eye protection).
6. With the OEM ECU and wiring loose, wiggle, and apply opposing forces to remove the unit completely. The valve ports on the Haldex unit are shown here: (Figure #8) Make sure this surface is clean.
7. Take the new ECU & valve unit and put the new hardware bolts in
place, then place the gasket over the bolt ends and ensure that the 3
port openings are unobstructed. Remove and reposition it if they are.
Take note of the proper orientation and remove the gasket then set it
aside.
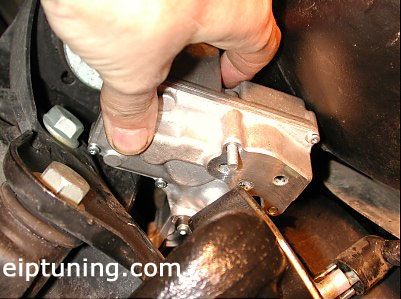
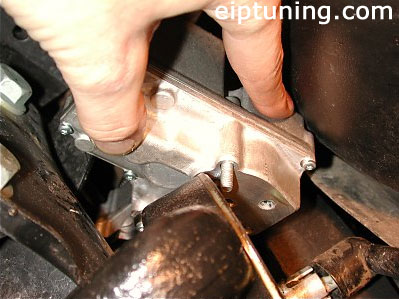
8. Now move the new ECU+valve into the mounting position. Holding the unit up parallel to the ground seems to give the best access when working in limited space. (Figure #'s 9, 10, 11, 12)
9. With the ECU & valve nearly in place, before you mate the valve
surfaces, put the gasket back over the end of the bolts, line the bolts
up with
their holes, double check that the gasket is not sticking out anywhere
that it shouldn't be, then tighten the bolts down.
10. Plug the electrical plug back in at the ECU, then feed the long wire
up over the rear diff, through the tight space behind the diff then back
down the rear bracket. Re-clip the wire into the rear then top clips.
It may be difficult to access the top clip.
11. Attach the plug end back to the metal bracket, then plug the wire ends together, and rebolt the bracket to the rear of the diff.
Finished.
Questions regarding install:
Call our tech line 410.876.1336
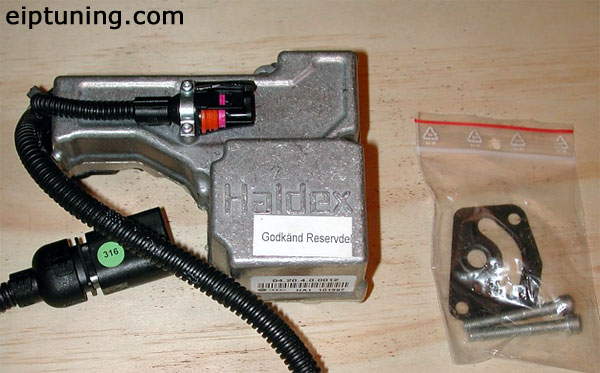 |
| Figure 1^ |
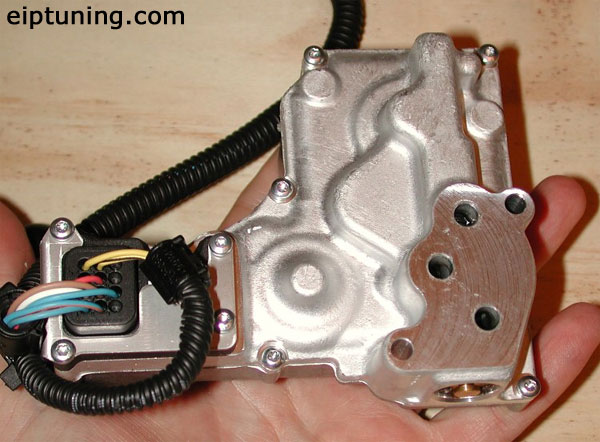 |
| Figure 2 ^ |
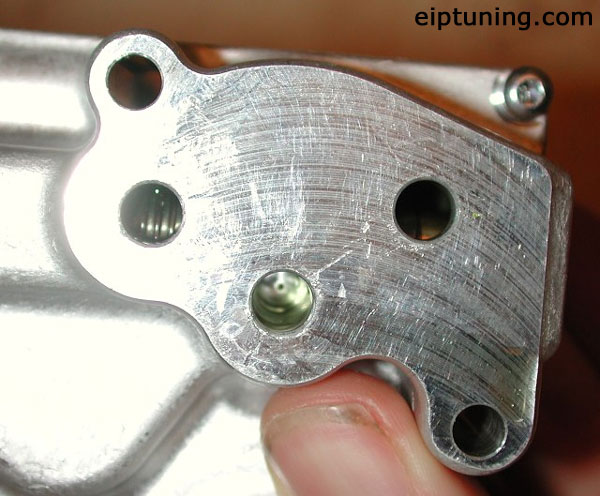 |
| Figure 3 ^ |
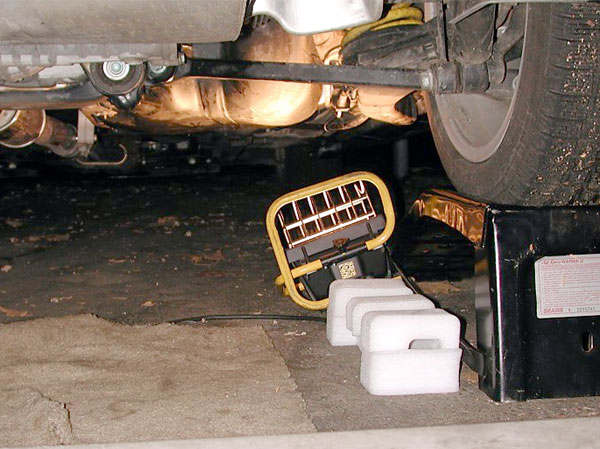 |
| Figure 4 ^ |
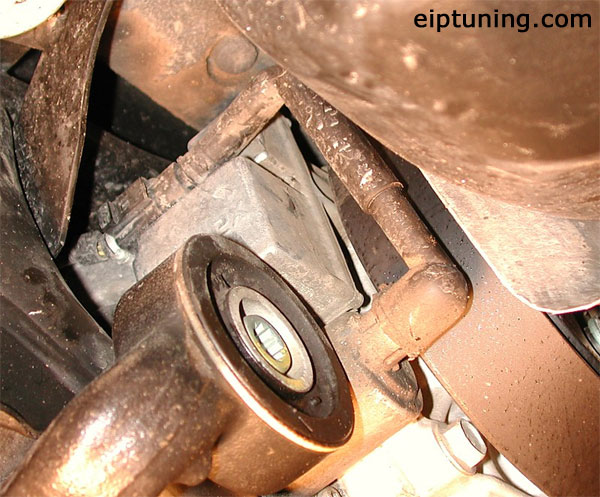 |
| Figure 5 ^ |
 |
| Figure 6 ^ |
 |
| Figure 7 ^ |
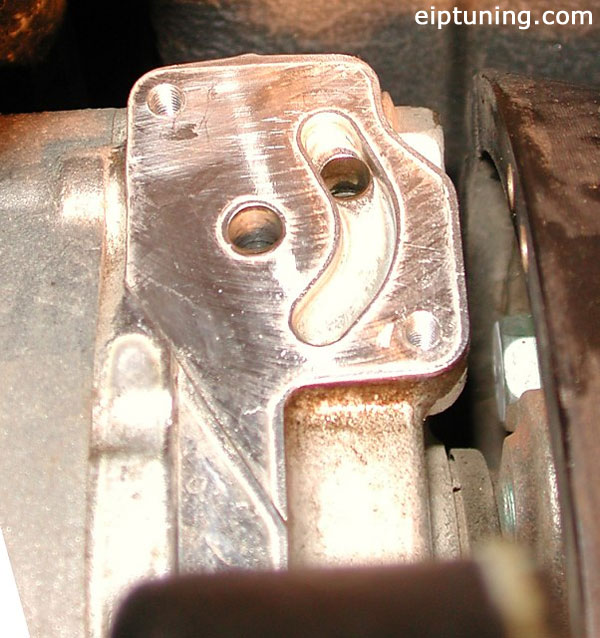 |
| Figure 8 ^ |
 |
| Figure 9 ^ |
 |
| Figure 10 ^ |
 |
| Figure 11 ^ |
 |
| Figure 12 ^ |
Call EIP Tuning to order: 410.871.0406
EIP Tuning
1203 Baltimore Blvd.
Westminster MD
21157